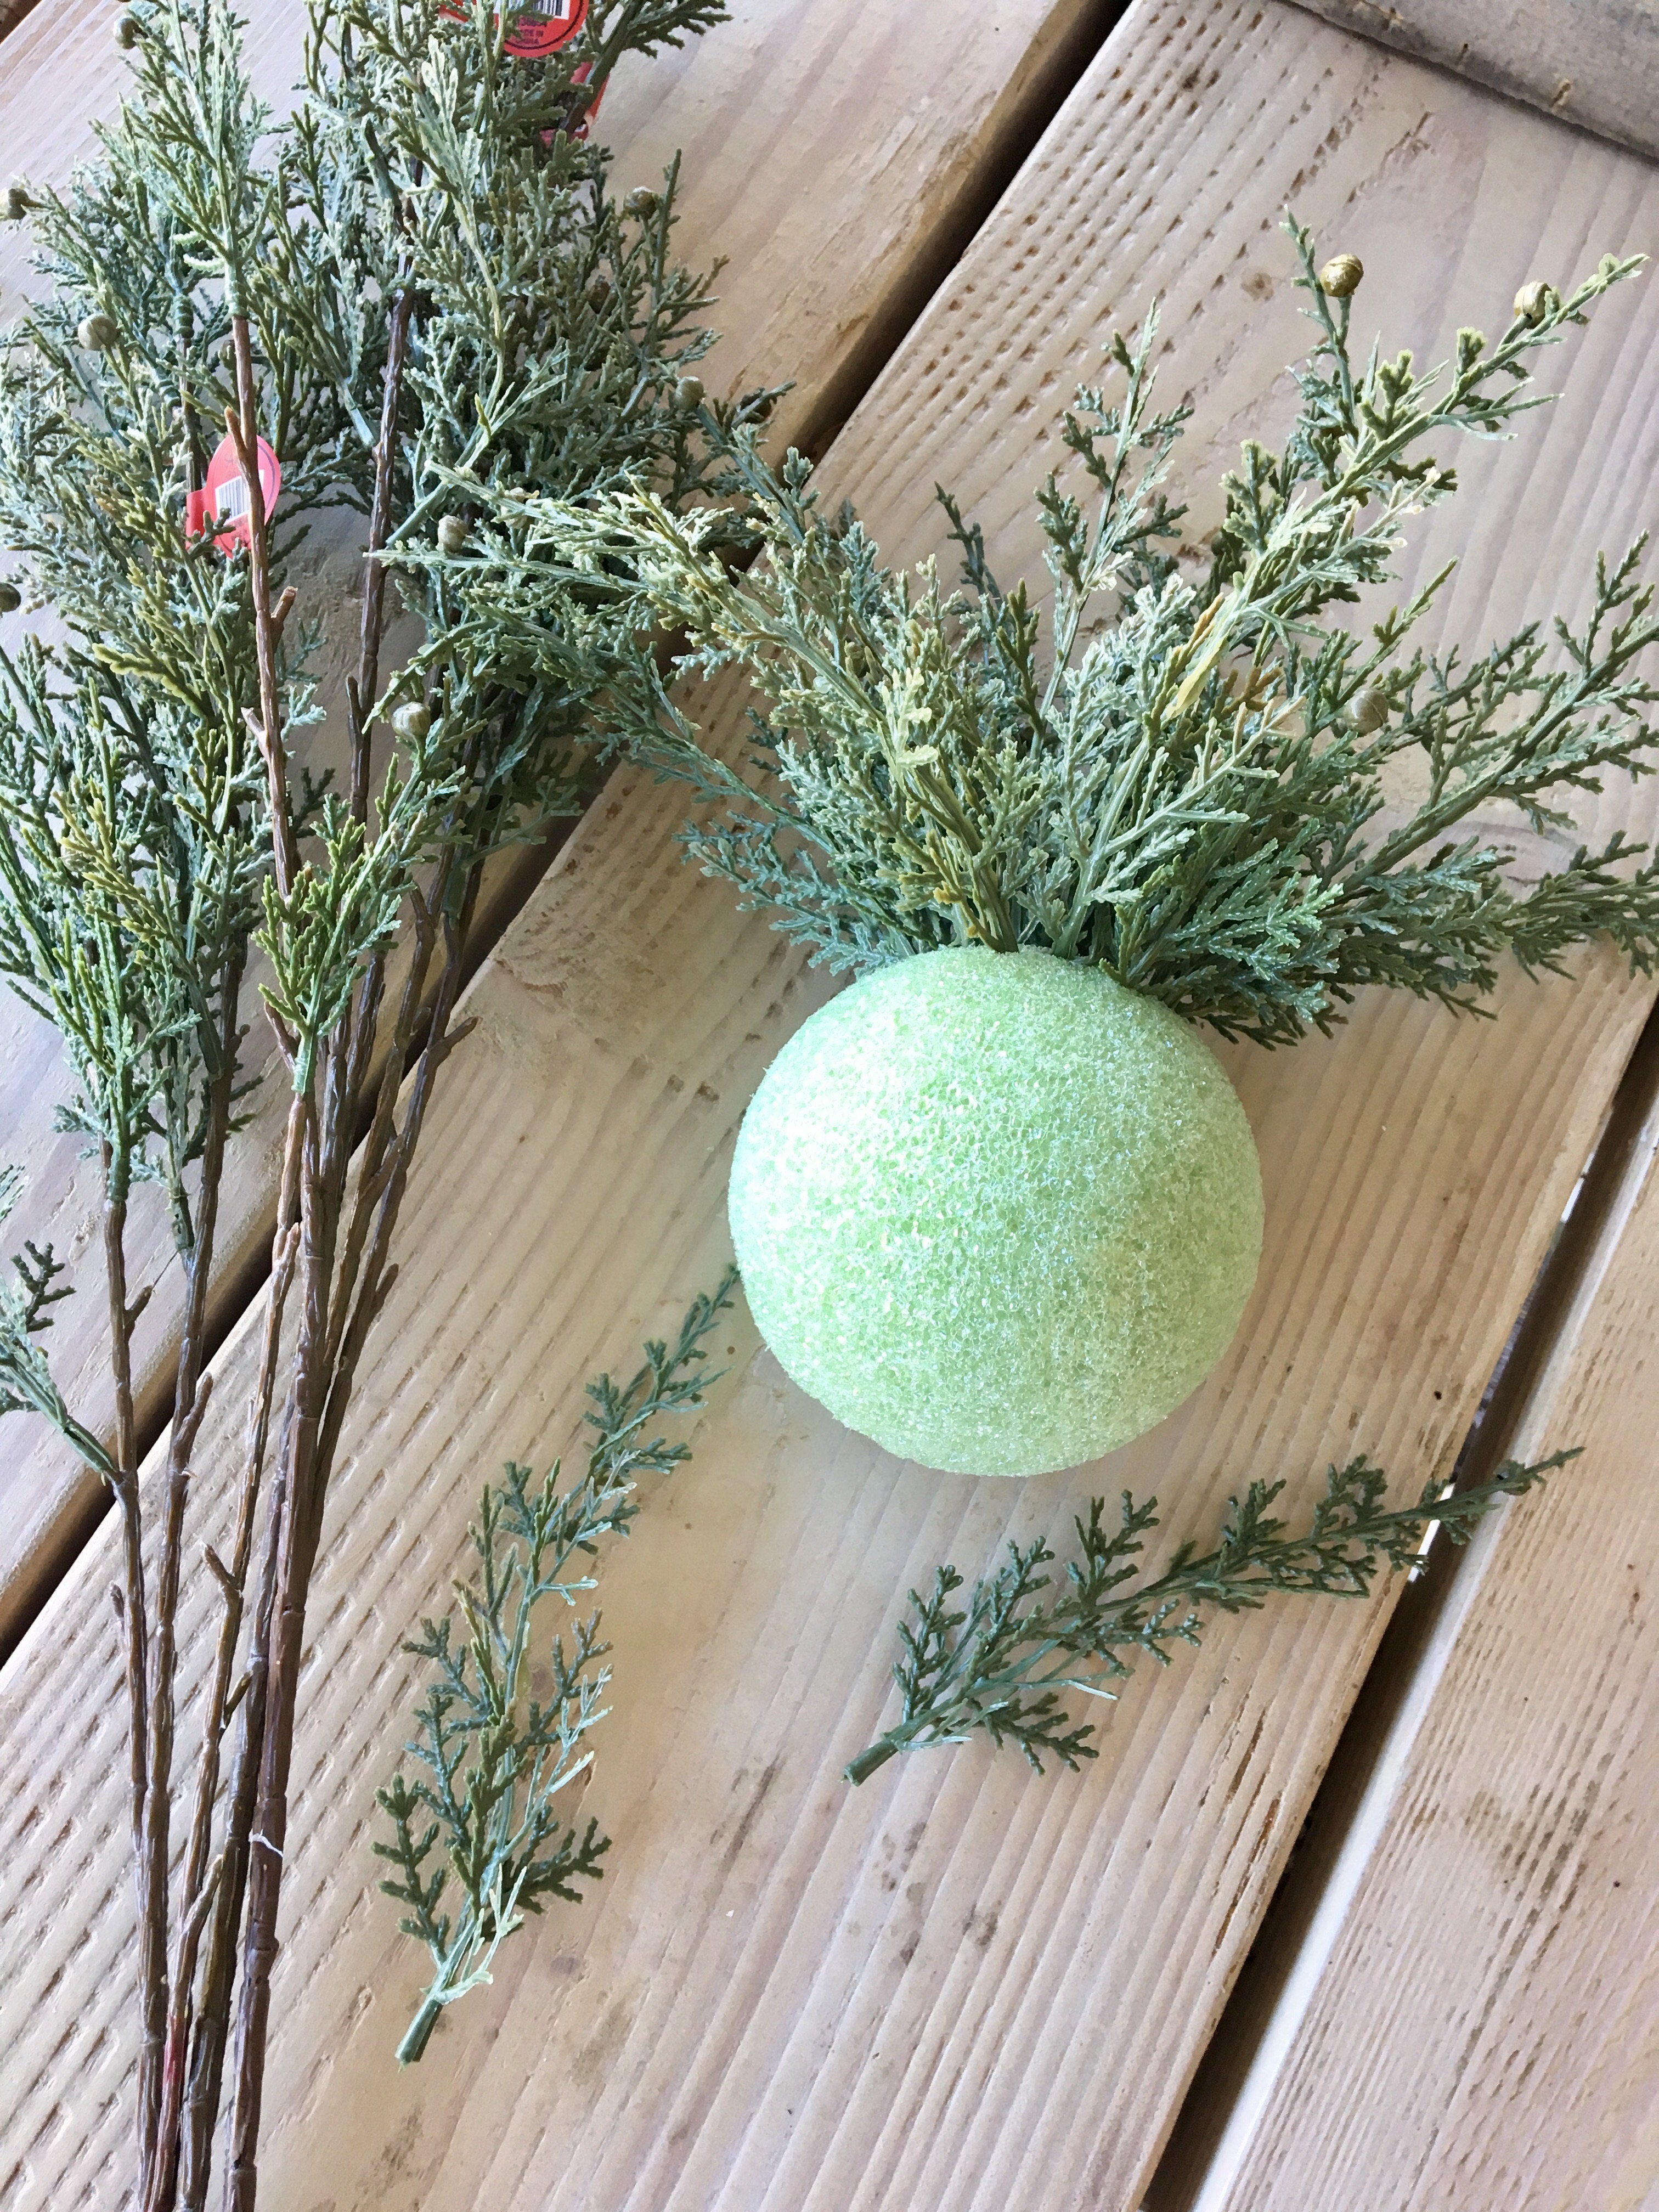
Thank you so much for all of your sweet words about my DIY topiaries that I showed a bit about on my IG stories. This was such an easy and fun project. I just want to make more…and, more! I started off with these evergreen stems that I had picked up at Hobby Lobby. I’m not always a faux plant lover but the color and shape of these was exactly what I was looking for. These stems even have the real look to them. My kids thought that they were real and were smart enough to ask when I was going to kill them. I’m not much of one for keeping plants alive so these are perfect for me. I plucked off all of the green ends of the stems and laid them aside.

This was the fun part for me because I got to sit back and watch an “I Love Lucy” while I pushed all of these pieces of greenery into this foam ball. These topiaries can be made into so many different sizes. The foam ball that you choose will determine what size the topiaries will be when completed. I used a 5-6″ green ball so that the foam would not show through the green stems as much as if it were white.
This is what the topiary looked like from the top once I had the fullness completed to my liking.

I left a part of the foam ball uncovered on the bottom side because the bottom side is not seen once the topiary is finished and this allows for no wasting of the greenery. I used approximately 7 greenery stems for each topiary. This was a lot more that I thought I would need. So, after my second trip to Hobby Lobby, I finally had enough. The nice part about the greenery is that if you don’t want to spend quite as much, you could do smaller topiaries. I wanted mine larger so that they would fit to scale in the old buckets that I used for the base.

I also found these birch wood pieces (to use for the topiary trunk) in a 3 piece bundle at Hobby Lobby and lucky for me, I showed up on the week when they were half off. These wood pieces were rather long so I cut one in half to use for both topiaries and now I have extra wood to use somewhere else in my home decor. I pressed the wood piece into the bottom center of the foam ball and then used hot glue to get it to stay in place.


I then did the same thing with these 2-3.9″ foam disks that I bought. I pushed the wood piece all the way through the first one and then part of the way through the second one.

I am thrilled with the way they turned out!! I used buckets for the base. I propped them up in the bottom of the bucket with paper plates stacked on top of each other. The paper plates were the ones with the ridges so I put 2 plates together top side to top side and then put them in the bottom of the bucket before placing the topiary in the bucket. I used 4-6 plates in each bucket and then filled in the edges where I had extra space with folded up paper plates and folded up dry paper towels. This just allows for my bucket to be lighter in weight and then I have the option to take them out of the bucket if I desire, in the future. I wanted them to look real so I made sure my paper towels were level on the top of the bucket and then I added a thin layer of potting soil to the top. I keep coming home and thinking, “why are my plants still alive”. Oh, the benefits of having faux plants.


I would love to hear what you think of my diy topiaries and would love to see yours if you make some. Please share them with me! I love seeing your projects too!
Sources:
Pumpkin Sign: DIY
Painted Furniture and Painted Thrifted Chandelier: DIY Chalk Paint Recipe
Watercolor Pumpkin Art on Shelves: Jamie Clark Art
As For Me And My House Wood Sign: Show the Joy
Macrame Beside Shelves: Bexley SLC
Dishes and Items On Shelving: Mostly Thrifted
Wood Stool: Thrifted
Shiplap: DIY
Rug: Wild Shaman
Barstools: Target
Now Death Where Is Your Sting Sign: Salted Words
Walnut Grove Tree Farm Sign: Crafting In The Country
Affiliate links are used in this post to assist in finding materials for projects and/or home decor. I only link companies that I trust.


Those topiaries are SO stinkin’ cute! I, too, am a plant killer so these kinds of plants are exactly what I need. I think a trip to Hobby Lobby is in my near future. If I could find some pots, that’s a bonus. Thanks so much for making this tutorial!
Thank you, Cindy! They had some super cute pots at Hobby Lobby too!
My colleague and I we’re looking to purchase wholesale topiarys for her shop but we’re disappointed in the quality and price out there. After seeing your DIY and talking to my colleague we will make our own to sell! I’ll let you know how they turn out! Thank you!!!
So fun!! Can’t wait to see yours ????????????????
Thank you for the inspiration! I have several faux topiary now I bought! I’m going to make more I love how real your look!
So awesome! I just can’t believe how real they look either!
I love your topiary and she looks like a Mopsy to me!
Thank you, Tawn! What a cute name, Mopsy!
I’m doin it! Cute idea…thanks☺
Yay, so awesome!
These look amazing and real! You come up with the neatest ideas and I love how they look in each room. Thanks for the instructions too. You are always so kind to share how you make everything.
Thank you, Connie! So sweet of you!
I love your topiaries! They’re fantastic and look real!
Thank you so much, Patti!
These are simply amazing and how you put them together is amazing too! Your mind must be working overtime all the time. LOL Love how realistic they look and how well they look no matter where you place them. I think of you when I visit Kirkland’s Store. I know you can make half the things there for half the price and they would look even better. LOL Keep up the great ideas. Can’t wait to see what you do for Christmas.
Sorry for the double posts. I encountered an error this am and didn’t think it went through and had to leave to run errands. I wanted to tell you how much I enjoyed your project and I wrote again. Next time I will check to see if it went through. Having a senior moment. LOL
Very cute, i went to Hobby Lobby today and tried finding the same stems that you used but could not find them. Do you remember how much they where or the name of them? How much did the topiary cost you to make?
Hi Marina, they cost about $25 a piece in the end. I’m sorry there was no name on them, some type of evergreen though. They were with all of the flower stems in that section.
Omigosh — this is a must-read for topiary lovers/murderers like me! Yes, I’m SO going to do this, but not before I compliment you on the staging of that corner of your kitchen! Good job! Meanwhile, I shall share this post on my blog this a.m.!
Thank you so much Kay! Can’t wait to see yours!
hi they are super cute, how many stems of greenery did you use for each on?
Love it!! Need to make for my living room. Great way to decorate space after taking down Christmas decor. Thanks, love your ideas!!
They are so fun to make too! ❤️
I love the topiaries and your step-by-step pictures and instructions are so clear. I have trouble growing plants too and have always wanted to try making topiaries, now I will.
On another note, the vignettes in which you placed them are so beautiful! I love the decor!
Thank you so much Paula! Would love to see yours!
I just saw these and had to tell you how wonderful they are! They look so real! I wish I had just a tiny fraction of the creativity gene you possess! ???? Your entire home is stunning and looks so warm and welcoming.
Thank you so much Pat! That means a lot to me ????